Antique Identification Guide: Marks, Materials, Age, and Value Clues
Learn how to identify antiques from photos using maker marks, materials, construction, patina, age clues, and safe next steps for value checks.
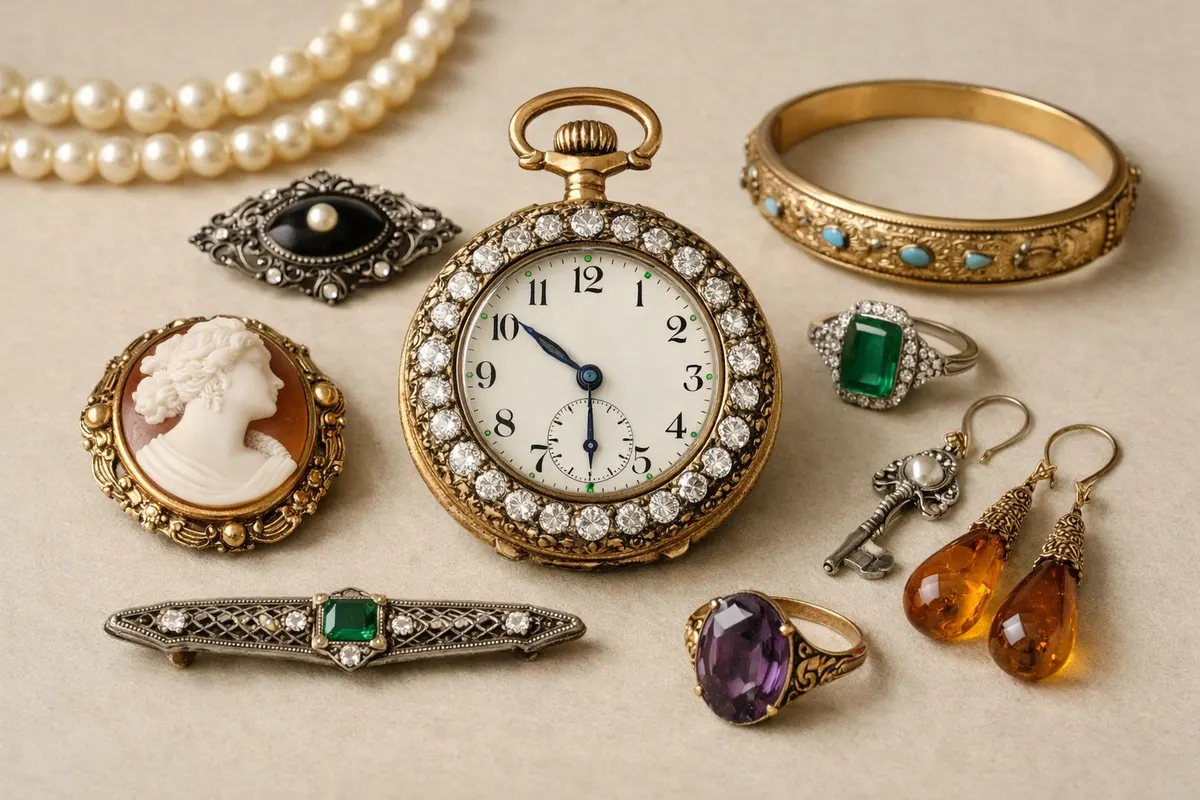
Quick answer for antique identification
Antique identification uses visible and contextual clues—maker marks, materials, manufacture methods, wear patterns, and provenance—to narrow an object's date, origin, and likely maker. A clear photo of marks and construction details plus basic measurements will often let you place an item within a few decades and identify likely production regions or makers.
Start with the simplest checks: read any stamped or painted marks, note the material (wood, brass, porcelain, glass, textile), look at how parts are joined or finished, and check condition and patina. These clues are normally enough to separate modern reproductions from older pieces and to narrow candidates for further research.
Remember: photographic identification can be highly reliable for visual clues but does not replace documentary provenance, laboratory testing, or a certified appraisal for high-value, legal, or safety-sensitive decisions. Use the app to collect and compare visual clues, then verify anything that would affect money, safety, or authenticity through specialists.
What it means
Antique identification is the process of using observable features to determine an item's likely age, origin, maker, and purpose. It combines visual inspection, historical reference checks, and contextual information (where and how the item was found, provenance, labels or receipts). The aim is to reduce uncertainty—from 'I don't know what this is' to 'this is likely X, made circa Y, by Z school or maker.'
Identification differs from valuation and authentication. Identification is about classification and attribution based on features. Valuation estimates market worth, which depends on condition, rarity, and demand. Authentication proves an item's claim to a specific maker or provenance, sometimes requiring scientific testing or archival records. Treat these as related but distinct outcomes.
For casual collectors, good identification provides the right keywords and candidate makers to guide further research. For sellers, museums, or heirs, identification is a first step that should lead to provenance checks and—when stakes are high—professional appraisal, conservation assessment, or laboratory analysis.
Key clues
Maker marks and labels: Stamps, impressed marks, painted signatures, paper labels, or stickers can directly name a maker, workshop, or retailer. Photograph marks sharply (macro or close-up), transcribe exactly, and note their placement—on the base, inside a body, or on hardware. Many marks changed over time; use reference guides or databases to map marks to dates.
Materials and finishes: Identify the primary material—hardwoods versus softwoods, cast metal versus stamped brass, glazed versus unglazed ceramic, or leaded crystal versus pressed glass. Materials can limit the earliest possible date (e.g., certain synthetic finishes indicate 20th-century manufacture) and suggest regional practices (e.g., European porcelain types vs. American stoneware).
Construction and joinery: How pieces are joined often reveals era and quality. Dovetail joints, square-nailed frames, machine-sawn boards, or molded parts indicate different periods and manufacturing methods. Look inside drawers, under seats, and at the back or base where joins and tool marks are exposed.
Wear, patina, and repair history: Genuine age shows consistent, logical wear where users handled the object—edges, handles, foot pads. Patina (oxidation, darkening of finishes, crazing on glazes) that matches expected use is a strong authenticity clue. Beware of artificially induced patina or selective distressing that imitates age.
Contextual clues: Provenance, labels, old inventory marks, and residues (old labels or insect damage) can place pieces geographically or chronologically. Packaging, original receipts, or estate provenance are powerful verification tools when available.
- Maker marks: photograph, transcribe, and note placement
- Material ID: wood species, metals, ceramics, glass types, textiles
- Construction: joinery, fasteners (hand-wrought vs. machine-made), molded vs. cast parts
- Patina & wear: consistent edge wear, oxidation, surface crazing
- Context: labels, provenance, old inventory stamps, findspot
Step-by-step workflow
Follow a structured workflow so you capture reliable evidence and avoid misidentification. The workflow below is practical for amateur and semi-professional users: document, compare, research, and verify. Each step is designed to build confidence without overclaiming authenticity or value.
Document with intention: take multiple high-resolution photos—overall views, maker marks, bottoms and backs, joinery details, and any damage or repairs. Record measurements (height, width, depth, weight if possible), inscriptions, and any paper labels. Note how the item was acquired and any accompanying paperwork.
Compare with references: use reputable reference books, museum collections, online databases, and auction house archives to find visual matches for marks, profiles, and construction. Pay attention to small diagnostic traits (profile lines on pottery rims, screw head type, or saw marks) rather than broad stylistic terms alone.
Research and verify: once you have candidates, look for corroborating evidence—period-appropriate materials, tool marks, and provenance. If the object is likely to have significant value or legal implications, consult a qualified appraiser, conservator, or a recognized specialist in the field. If authenticity is contested, laboratory analysis (wood dating, thermoluminescence, metal alloy analysis) may be necessary.
- Step 1 — Document: clear photos (macro for marks), measurements, provenance notes
- Step 2 — Preliminary ID: identify material, construction, and any readable marks
- Step 3 — Compare: reference books, museum databases, auction archives
- Step 4 — Corroborate: check materials, joinery, and provenance for consistency
- Step 5 — Verify when needed: professional appraisal, conservation, or lab testing
Examples
Example 1 — Porcelain plate: You find a white glazed plate with a blue underglaze crown mark and a number. Close-up photos show a printed factory mark and a hand-painted pattern. The printed mark points to a known factory and a likely 19th- or early-20th-century production series; hand-painting quality and glaze condition narrow the decade. A provenance slip from an estate sale strengthens the attribution.
Example 2 — Mahogany side table: The table has dovetail drawers, hand-cut nails under the skirt, and a finish with surface checking and age-appropriate wear on the edges. The drawer construction suggests early 19th century; tool marks and the presence of a later brass lock (clearly added) show it had repairs. These clues help separate an original antique from a period-style reproduction.
Example 3 — Glassware with pontil mark: A tumbler shows a rough pontil scar and uneven vertical air lines consistent with hand-blown glass; there is no mold seam. These features indicate pre-industrial or early 19th-century manufacture rather than later pressed-glass production. A maker’s engraved mark on the base would make the attribution stronger.
Example 4 — Cast metal lamp: A lamp base stamped with a maker’s name, but fitted with a modern electrification kit. Stamped maker marks and casting quality identify the original maker and likely era, but the wiring and lamp fittings reveal a 20th-century conversion. Identification separates original body attribution from later modifications that affect value and safety.
- Porcelain: compare marks with factory mark databases and glaze characteristics
- Furniture: check joinery, nails, and saw marks for period clues
- Glass: pontil scars, mold seams, and air inclusions differentiate hand-blown vs. pressed glass
- Metals: casting marks, maker stamps, and later mechanical modifications (e.g., electrification)
Limitations
Photographic and visual identification has limits. Many forgeries are created to fool casual inspection, and sophisticated restorations or refinishing can hide or alter key diagnostic features. Visual clues are strong for narrowing candidates but rarely provide final proof of maker or exact date when stakes are high.
Do not treat the app or a photo-based ID as a certified appraisal or legal authentication. For insurance, estate settlement, tax reporting, or high-value sales, always obtain a written appraisal from a qualified appraiser recognized by a professional body. If authenticity is disputed or the item is rare, consider conservation reports and laboratory testing.
Condition and market value are separate judgments. An item identified as from a desirable maker may still be of low market value if condition is poor or if a large number of similar pieces have flooded the market. Conversely, a less-known maker can command high prices if provenance and rarity align. Market research and current auction records are essential for valuation.
Safety and material hazards: visual inspection cannot reliably detect toxic finishes, lead content, or biological hazards (mold, pest infestation). If the object's safety affects people (children’s toys, painted surfaces, food-use ceramics), avoid use until a specialist or laboratory test confirms safety.
Use the app after checking the visual clues
Use the Antique Identifier app to scan clear photos of maker marks, construction details, and condition notes after you document the object. The app is a fast first pass to compare visual clues and organize the evidence you’ll need before deeper verification. If an identification could affect money, legal outcomes, or safety, follow up with a qualified appraiser, conservator, or lab testing.

Frequently asked questions
Can I identify an antique from a single photo?
A single photo can often provide useful initial clues—material, basic form, and visible marks—but it rarely supplies enough evidence for a definitive identification. Take multiple high-resolution photos (overall views, maker marks, joins, bottoms) and include measurements and provenance notes for a reliable assessment. For high-value or legally significant items, follow up with a specialist.
How can I tell if a maker’s mark is genuine?
Check the mark’s placement, clarity, and production method (stamped, impressed, printed). Compare it with reliable reference sources and known examples—marks evolve over time, and small differences can indicate reproduction. Also inspect surrounding features: era-appropriate materials, joinery, and wear should match the mark’s claimed period. When in doubt, seek expert authentication or lab testing.
When should I get a professional appraisal or lab test?
Obtain a professional appraisal when the item could materially affect financial decisions—insurance, estate division, loan collateral, or high-value sale. Use laboratory testing (wood dating, thermoluminescence, alloy analysis) when authenticity is contested or when visual evidence and provenance conflict. Appraisers and labs should be chosen from recognized professional organizations or reputable institutions.
What if I find repairs or modern alterations?
Document repairs and alterations carefully—photograph them and note materials used. Repairs can significantly affect value, function, and safety. Some alterations (like rewiring lamps) may be reversible and common; others (structural replacements, overpainting) may reduce historical integrity. Consult a conservator for advice on appropriate restoration and to evaluate whether repairs are period or modern.