

Antique Silver Marks: Hallmarks, Sterling Stamps, and Plate Clues
A practical guide to antique silver marks: which photo clues matter, which are unreliable, and the exact next checks to do after a first pass.
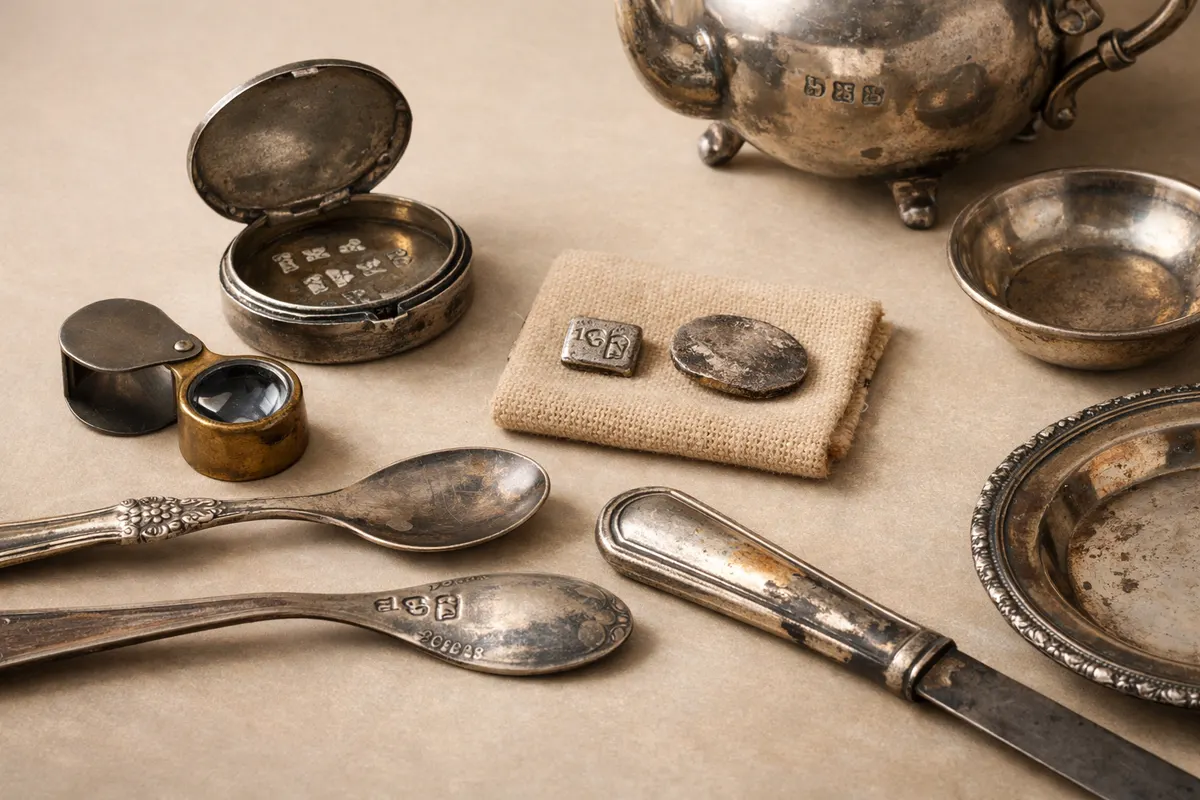
Quick answer: what antique silver marks can realistically show
Antique silver marks in a photo can reliably show a few concrete facts: letter and number stamps (like 925 or 800), the shape and relative placement of maker’s punches, and whether a piece carries multiple grouped marks consistent with assay systems. Those are the strongest clues because they are literal impressions in metal and usually survive lighting and modest image blur if you photograph them correctly.
What a single photo cannot do by itself is prove age, precise maker attribution beyond the mark, or market value. A worn or fake mark can look genuine at a glance; a cast reproduction may copy the lettering and still not be the original. Treat any single-photo identification as a working hypothesis, not a certificate.
Practical next steps after spotting a mark in a photo are to record three kinds of images (overall object context, a clear close-up of the mark with scale, and an oblique-lit texture shot) and then compare the mark as a combination: purity/purity number, maker mark, and any regional assay or date letters together. That combined match is far stronger than one isolated stamp.
- Strong clues you can usually see in a phone photo: clear numeric purity marks, crisp maker punches, grouped assay symbols.
- Limitations: a readable stamp is not proof of age, maker authenticity, or value; reproductions and later re-stamps exist.
- Photograph next: a full-object shot, a scale reference (ruler or coin), and two close-ups at different light angles.
Strongest visual clues on antique silver marks
When a mark is stamped into the metal, the shape of letters and digits is one of the most stable clues. Shapes such as '925', '800', or a clearly punched serif maker’s initial are hard to fake perfectly in a casual reproduction. In photos, prioritize capturing the edges of each character — their serifs, the depth of the punch, and any irregular tool marks around the letters — because these small features help distinguish a genuine hand-punched hallmark from a machine-pressed or laser-etched copy.
Grouped mark combinations are stronger than single stamps. Many countries use sequences: a purity number, an assay office symbol, and a date letter or maker mark. If your photo shows a consistent cluster with spacing and alignment typical for a country or period (for example, British lion passant with a town mark and date letter), that combination is a stronger identification clue than any single number alone.
Contextual object clues that survive ordinary photos also matter. Look for construction details near the mark: solder seams on the reverse, whether joints are filed or brazed, tiny screw or rivet types, and the way handles are attached. These details help confirm whether the mark belongs to the object or was added later. Photograph those adjoining areas too; a hallmark sitting over a seam or suspiciously shallow may indicate a later addition.
Surface depth and tool marks are especially useful when you photograph with oblique light (light grazing the surface at a low angle). That lighting highlights the cut or punch depth and the shadow inside characters, revealing whether a mark is stamped sharply into the metal or simply surface-printed or plated. A well-lit oblique close-up is one of the single best photos to collect for any silver mark assessment.
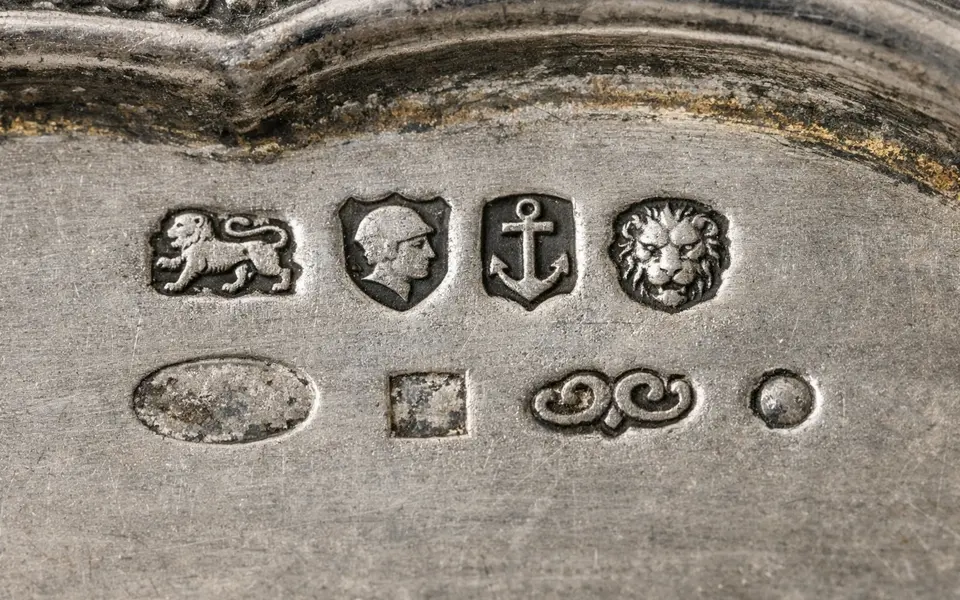
- Letter and digit shapes: serifs, stroke width, and tool marks are reliable visual clues.
- Grouped marks (purity + assay/maker + date) increase confidence far more than single stamps.
- Construction details near the mark (seams, joins, solder) confirm whether the mark is original to the piece.
- Oblique lighting reveals punch depth and shadowing—take at least one angled close-up.
Weak signals
Color and tarnish are tempting clues but are weak on their own. While certain alloys age with typical patinas, tarnish varies by environment and cleaning habits; a deep brown tarnish does not certify age, and overcleaning can erase evidence. Photographic color balance, phone filters, and lighting temperature also change perceived hues, so do not use color alone to judge purity or age.
Surface style or ornamentation alone is a poor marker of authenticity. Many manufacturers reproduce period styles, and decorative motifs are frequently copied in plated wares. Two bowls with identical chased decoration can be separated only by construction and marks; style similarity should be a supporting clue, not the deciding one.
Single-angle photos and glossy reflections hide crucial detail. A head-on flash can blow out the interior of a punched mark and make shallow forgeries look deep; direct reflections also mask edges that define letter shapes. If you only have one flat photo of a mark, treat any identification as provisional until you can gather oblique-lit close-ups and a scale reference.
Generic words like 'Sterling' can be misleading in period contexts. 'Sterling' may be stamped in good silver, but it was also later added to silverplate or used on promotional novelties. Numeric purity marks are more reliable when paired with regional assay symbols and maker punches.
- Tarnish color is unreliable: environment and cleaning change it quickly.
- Style or ornament is easily copied—use it as supporting evidence only.
- Single flat photos and reflections can hide shallow or fake marks.
- Words like 'Sterling' are useful but insufficient without matching assay/maker marks.
Step-by-step comparison workflow for antique silver marks
Start by assembling the evidence you photographed: a full-object image, a close-up of the mark with scale, and one oblique-lit close-up to reveal depth. Label each image (object_overview.jpg, mark_scale.jpg, mark_oblique.jpg) and note where on the object you took the close-up. That practical labeling keeps you from matching a maker punch from a different part of the piece or from another object entirely.
Next, transcribe the mark exactly as it appears. Write down every letter, symbol shape, dot, and spacing. If the mark reads '925' with a small star beside it, copy that. Compare the transcription against reference sources that show both the mark symbol and typical groupings for particular countries or timeframes. Cross-checking the exact letterforms—serifed versus sans-serif, narrow versus wide digits—often narrows candidate makers dramatically.
When you find plausible matches, confirm them by checking two independent features: grouping/sequence and construction clues. For example, if a candidate is a British maker from 1890, verify that the piece’s joinery, hinge style, or handle mounts align with late 19th-century construction practices. If they don’t, the mark match may be a later addition or a mismatch. Always treat mark matching as one axis of evidence alongside physical construction and provenance when available.
Finally, if you want more examples of hallmark varieties and how they appear in photos, consult curated mark catalogs and photo guides. For a photo-centric deep dive into hallmarks and maker marks, see the Silver Hallmarks Identification by Photo: Sterling, Plate, Coin Silver, and Maker Marks resource for extended examples and comparative images (https://antiqueidentifierbypicture.app/blog/silver-hallmarks-identification-by-photo). Use those reference images as visual calibration rather than absolute proof.
- Collect and label three image types: full object, scale close-up, and oblique-lit texture close-up.
- Transcribe marks exactly, noting spacing, dots, and tiny glyph differences.
- Match mark groupings (purity + assay + maker) before trusting a single symbol.
- Cross-validate mark matches with construction details and provenance where possible.
Next steps: how to use a tool after checking antique silver marks
After you’ve gathered the essential photos and done a manual transcription, a tool or app can provide a helpful first pass by suggesting likely matches and pointing you to similar images in databases. Use those app results as research notes: they help prioritize which makers or assay systems to investigate but do not replace the step-by-step cross-checks described earlier.
When using a tool, feed it the best photos possible: the scale close-up and oblique-lit close-up are the priority. If the app suggests multiple possible matches, compare the top suggestions against your transcribed glyph shapes and the grouped-symbol pattern. Discard results that match only on a single generic symbol (for example, a single 'STERLING' stamp) and favor matches that align across two or more clues.
If the app flags a high-probability match, follow up with independent checks: consult hallmark catalogs, search auction records for the same maker and object type, or ask a specialist for a condition and construction review. Treat the app’s suggestions as a triage tool that narrows the field but still requires human verification, especially for valuable or unusual pieces.
If you plan to use the Antique Identifier app as a first pass, remember the tool works best when you supply clear context photos, scale references, and oblique-lit close-ups. Use the app result to create a short research note—candidate maker, matched symbols, and confidence level—then proceed to deeper verification rather than treating the app output as definitive.
- Use app results as first-pass research notes, not final proof.
- Upload the best photos you collected: scale close-up and oblique-lit texture image first.
- Favor app matches that align across multiple clues, not a single generic symbol.
- Follow app suggestions with catalog checks, auction searches, or specialist consultation.
Related guides
Compare silver hallmark clues
Use the silver-hallmarks guide to compare grouped marks, sterling stamps, and plating clues. Record what matches and what still needs verification.
Take the next step →Frequently asked questions
What does '925' or 'Sterling' actually mean on antique silver?
A '925' mark indicates the piece contains 92.5% silver by weight, a standard known as sterling silver. 'Sterling' is a worded equivalent often used on Anglo-American pieces. While this mark reliably signals intended silver content, it does not alone prove age or maker authenticity: marks can be added later and some plated items carry misleading labels. Confirm a '925' with other clues (maker marks, assay symbols, consistent construction) before treating it as proof of original sterling workmanship.
How can I tell silverplate from sterling using photos?
Look for multiple clues: sterling usually carries a numeric purity stamp ('925', '900', etc.) or official assay marks, while silverplate frequently has trade names, pattern numbers, or phrases like 'EPNS' (electroplated nickel silver) rather than a purity number. Construction details help: thin gauge base metal cores, visible seam lines, and a plated edge where the base metal shows at high-wear points indicate plating. A clear oblique-lit close-up of a hallmark and a photo of a high-wear edge are the fastest way to distinguish the two in photos.
Can tarnish or patina confirm an item's age?
No—tarnish and patina are inconsistent and environment-dependent. While older pieces often show characteristic wear patterns and surface oxidation, laundering, polishing, or corrosive environments can dramatically alter appearance. Patina is a supporting clue for age when paired with construction, mark groupings, and provenance, but it should not be used alone to establish a date or authenticity.
What photos should I take before asking an app or expert to look at a silver mark?
Take three essential photos: (1) a full-object shot showing shape, proportions, and decoration; (2) a close-up of the hallmark with a scale reference such as a ruler or common coin; and (3) an oblique-lit close-up that shows punch depth and shadow inside the characters. Add detail shots of joins, solder areas, and high-wear edges. Label and date the images so you and any reviewer can refer back to specific details during comparison.