Pottery Marks Identification
Pottery Marks Identification: Read Maker Marks Fast
Use clear photos and simple clues to narrow pottery marks identification quickly. Learn what a photo can show, what it cannot, and next steps to confirm.
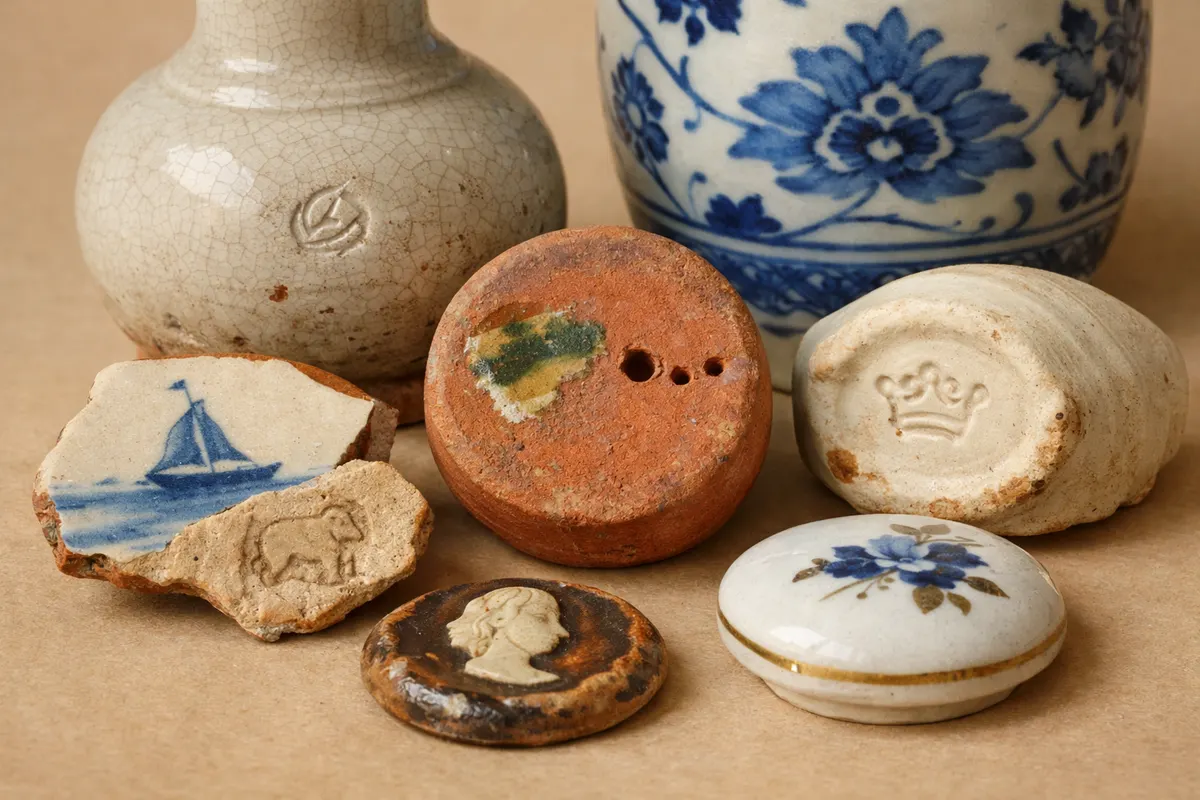
Pottery marks identification starts with clear images and the right clues. A single photo of a maker's mark — whether stamped, painted, or impressed — can quickly narrow the field to an era, region, or likely workshop, but it rarely proves authenticity or value on its own.
Before you ask for an expert read, photograph the mark on the foot or base, one full-object shot for context, and a close-up showing texture and edges. Note any glaze pooling, kiln spur marks, or painter’s strokes that help separate ceramic markings made by hand from later printed transfers.
An initial photo review can tell you if the mark is a factory stamp, a hand-signed monogram, or a date code. After that first pass, use a focused identification service to compare the visible details against known maker patterns and dated marks.


How identification works
Step 1
Snap a photo
Take a clear, well-lit photo of your item in the Antique Identifier By Picture app.
Step 2
Get an instant identification
The app reads the visible clues and returns the closest matches in seconds.
Step 3
Review the details
Compare the result with your photo, review any uncertainty, and check the suggested next steps.
Visual clues: pottery hallmarks, marks, and wear
A successful pottery marks identification relies on 4–6 repeatable visual signals. Taken together they often point to a production method and time window that a single mark alone cannot supply.
Look for where the mark sits: impressed marks inside the unglazed foot are typical of studio wares and older factories; painted or printed marks on glazed surfaces often indicate modern transfer processes or later decoration. Foot rim wear and kiln grit can support an older date when present with a hand-incised mark.
Consistent scale in your photos matters: include a coin or ruler in at least one frame to show size, and photograph the edge of the base to reveal how the mark was applied.
- Impressed vs painted vs printed: an impressed mark pressed into clay will cast shadow and show edge compression; painted marks sit on top of glaze; printed marks repeat identical outlines.
- Maker’s initials and numbers: single-letter stamps are often workshop codes; multi-digit codes can be pattern or mold numbers rather than dates.
- Glaze and body: thin translucent glaze over a white paste suggests porcelain; coarse red or buff paste indicates earthenware — a clue beyond the mark itself.
- pottery markings: photograph any multiple-line or stacked marks separately; overlapping marks suggest later decorations or restorations.
- Kiln evidence and tooling: spur marks, trimming lines, and tool grooves around the base can confirm hand-thrown vs molded production.
What a pottery marks identification report includes
A focused identification result for pottery marks identification summarizes only what the photo can show and what needs further proof. Expect concrete fields: likely item type, probable era or date range, primary material (porcelain, earthenware, stoneware), and a reasoned match to known maker patterns.
Reports also flag confidence levels and the key photo clues used — for example, ’impressed anchor mark matches 1920s shipping markers; confidence medium because glaze obscures partial letters.’ That transparency makes it clear when a follow-up physical inspection is needed.
When relevant, the result calls out decorative types, maker signatures, and recommended next steps (compare to published maker stamps, check provenance documents, or seek in-person appraisal). See example results in Pottery Marks Identification by Photo: Maker Stamps, Symbols, and Base Clues for how matched cases are presented.
- Item classification: plate, vase, bowl, tile, or figurine with measured dimensions.
- Dating window and region estimate based on mark style and body composition.
- pottery signatures: when a hand-signed name or studio stamp is readable, the report lists candidate makers and comparative examples.
- Condition notes and photo-based restoration flags that affect identification certainty.
Items commonly confused with pottery marks
Many owners misread factory codes, repair stamps, or dealer labels as maker marks. Transfer-printed decoration often leaves a printed mark that mimics a hand-painted signature, and mould seam lines can look like incised initials.
Modern reproductions use period-style marks that copy famous workshops; a good photo will show crispness, tool marks, and glazing inconsistencies that betray a later copy. Photographing the full base and edge detail helps separate an authentic impressed hallmark from a later applied decal.
Small stamps like registration or patent marks are sometimes mistaken for potter initials; a close-up of the number spacing and font usually clarifies whether the source is industrial machinery or a hand tool.
- Transfer print vs hand-paint: repeated identical motifs under magnification indicate transfer printing, not handwriting.
- Dealer or inventory marks: light pencil, sticker residue, or modern ink is often post-sale and not part of the original mark.
- Porcelain vs earthenware confusion: thinness and translucency checks at the rim will show if a piece is porcelain even when the base mark looks similar.
Frequently asked questions
What are potters marks and how can I tell them from a photo?
Potters marks are stamps, incisions, or signatures makers place on the base. From a photo, distinguish potters marks by how they interact with the clay: incised or impressed marks push or compress clay edges, painted marks sit on the glaze surface, and printed marks repeat precisely. Good close-ups of the mark edge, a side view of the base, and a scale reference are essential to separate a genuine maker’s stamp from later additions or dealer labels.
How do I photograph markings for pottery to get a useful identification?
For markings for pottery, take a straight-on close-up at 90 degrees to the mark, a full-object shot for context, and an angled shot showing depth and casting. Include a ruler or coin for scale, steady light to avoid glare on glaze, and a side profile to reveal how the mark sits in the body. These images let an identifier tell whether a symbol is impressed, painted, or printed.
How should I interpret signatures on pottery when the ink or paint is faded?
Signatures on pottery that are faint should be photographed in raking light (light from a low angle) to reveal shallow incisions or raised brush strokes. A magnified close-up often makes letterforms legible; if the signature is partially worn, compare the visible letters and stroke direction to known studio examples rather than assuming a full name match.
Are ceramic marks alone enough to date and identify a piece?
Ceramic marks can strongly suggest a period or manufacturer but are rarely definitive by themselves. Many factories reused marks across decades, and reproductions copy historic stamps. Use ceramic marks alongside body composition, glaze, decoration style, and provenance; together these clues give a more reliable identification than the mark alone.
Related guides
Get a quick photo identification
After you’ve taken a straight-on close-up of the base, a full-object shot, and an angled profile showing edge and depth, use antiqueidentifierbypicture.app to submit the images. The app compares visible maker patterns, lists likely matches with confidence notes, and tells you which follow-up photos or documentation would raise certainty. Use it as a first-pass identification to focus your next checks.