

Antique Furniture Styles: Shape, Joinery, Hardware, and Era Clues
A practical checklist for reading antique furniture styles from photos: joinery, fasteners, shapes, veneer, and what a single image can’t prove.
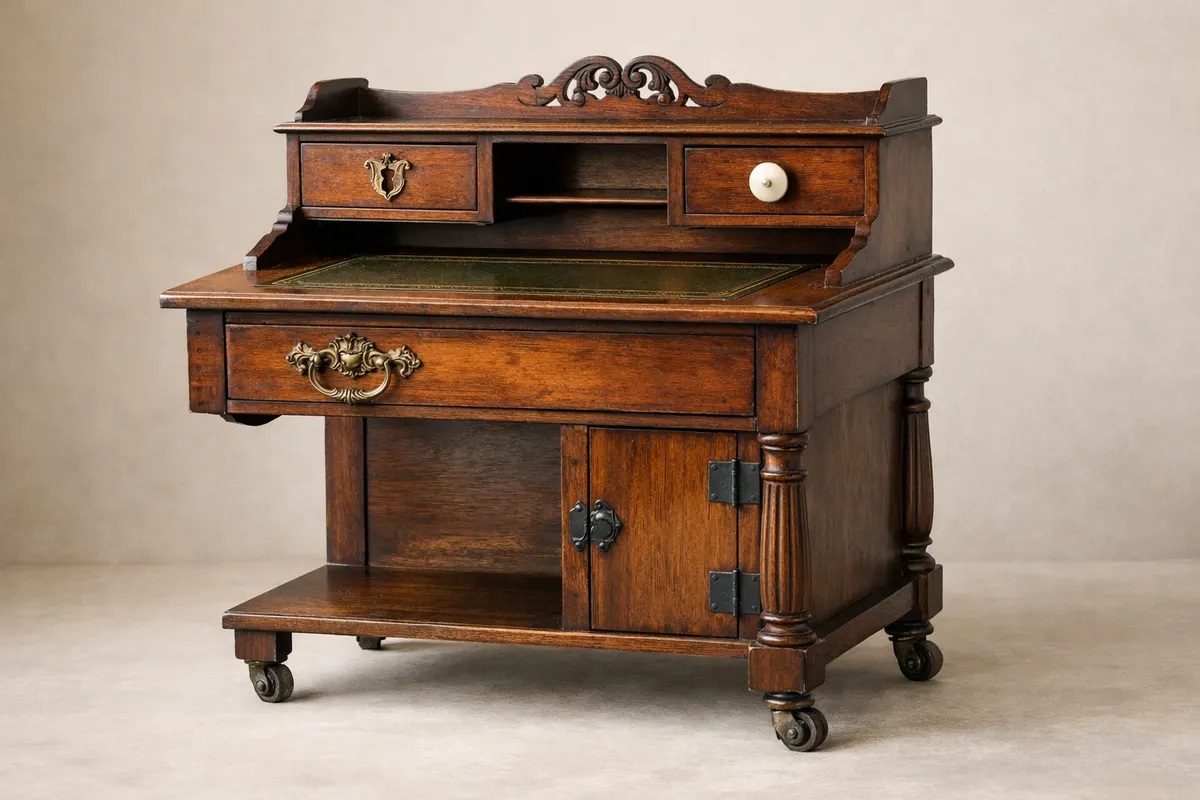
Quick answer for antique furniture styles
Antique furniture styles are best read as a stack of visible clues rather than a single signature. When you look at a piece in a photo, prioritize construction details — joinery, saw and tool marks, fasteners, and how veneers or inlays are set — because those features survive lighting and angle problems better than color or ornament alone.
Shape and silhouette give a fast-era signal: cabriole legs and carved knees suggest 18th-century English influence, turned legs and tapered splayed feet point to later 19th-century factory work, and neoclassical straight lines with inlay can indicate Federal or Empire periods. But shape alone can be copied, so combine it with joinery and hardware to reduce mistakes.
Realistically, a phone photo can often tell you whether a piece is hand-made or machine-made, whether veneers are original or applied later, and whether primary joinery is traditional (dovetail, mortise-and-tenon) or modern glued assemblies. It cannot, by itself, prove provenance, exact maker, or market value — use visible clues to narrow possibilities and assemble research notes.
Strongest visual clues
Start with joinery. Hand-cut dovetails have irregular spacing and slightly angled pins and tails; machine-cut dovetails are uniform and precise. Look at the drawer back and the corner of the carcass where the joint meets the surface — a close, well-lit photo of the joint edge is often decisive about age and manufacture technique.
Fasteners tell a clear story. Cut nails (rectangular shanks that taper to a point) and early square-cut screws point to 18th–19th-century construction; wire nails and round-shank, modern screws indicate 20th-century or later repair. Heads matter too: slotted, hand-filed screw heads with off‑center slots are older than neatly stamped Phillips or Pozidriv heads.
Tool marks and saw patterns survive finishes and refinishing. Straight, evenly spaced planer lines or band-saw marks suggest machine processing; irregular crosscut marks and uneven rip saw scars appear where older, hand tools were used. On turned furniture elements, crisp tool chisel marks or irregular turnings hint at pre-industrial production.
Veneer and inlay technique are strong signals. Quarter-sawn oak boards with medullary rays are typical in Arts & Crafts and some late 19th-century pieces. Tight, book-matched veneers with delicate marquetry and brass stringing generally indicate higher-end 18th–19th century work; thick, glued-on veneer with mismatched seams points to 20th-century restoration or mass-produced overlays.
Hardware casting and attachment reveal manufacturing context. Handcast brass escutcheons and hinges have irregular casting edges and file marks; stamped, machine-punched hardware is uniform and thin. Check how hardware is attached: old furniture often uses flat-head slotted screws driven into solid wood, while later pieces may have machine-threaded screws into screwed-in posts or staples.
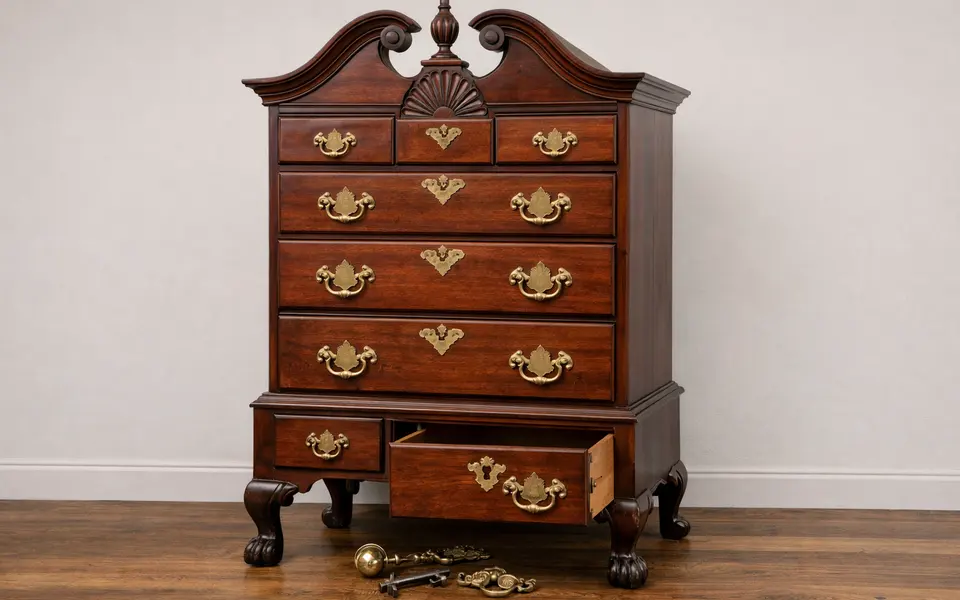
- Dovetail detail: irregular pins = hand-cut; uniform pins = machine-cut.
- Nail type: cut nails = 19th century or earlier; wire nails = later repairs or modern build.
- Screw heads: off-center slots and tapered threads = older; uniform Philips/Pozidriv = modern.
- Saw marks: hand-sawn crosscut and irregular rips suggest older work; band-saw/planer marks indicate machine production.
- Veneer seams and book-matching reveal original high-end work versus later overlay.
- Hardware casting: rough, heavy castings with file marks are older than thin, stamped components.
Weak signals
Color and finish gloss are among the weakest clues. Staining, repainting, and modern lacquer can completely mask original color. A dark oak finish doesn’t prove age because finish can be applied later; conversely, a light, fresh finish doesn’t prove modern manufacture if the surface was stripped during restoration.
Ornament style alone is misleading. Carved motifs — shells, acanthus leaves, scrolls — were copied repeatedly across centuries and by reproduction shops. A carved crest rail that looks Georgian may be a 20th-century copy executed to look antique.
Single-angle photos and scale errors cause misreads. A tight close-up of a leg can exaggerate or hide proportions; photos without scale objects make it hard to tell whether a carved foot is on a small table or a full-size monumental case. Always get multiple angles and a reference object for scale.
- Finish color and sheen: unreliable without cross-checking joinery.
- Surface wear alone: can be artificially applied or result from heavy restorations.
- Fabric and upholstery: textiles wear out faster than frames; reupholstery is common and not a guide to date.
- One-angle photos: risk misinterpreting proportion and details.
Comparison workflow
A consistent workflow prevents bias. Photograph the piece from multiple angles: full front, three-quarter profile, underside, joinery close-ups (drawer dovetails, underside of seat), and hardware close-ups. Use natural light and include a ruler or a coin for scale. These images let you cross-check multiple clues instead of depending on one lookalike feature.
Document every visible clue in a short list: primary joinery type, nail/screw evidence, veneer pattern, hardware casting style, and any tool or saw marks you can see. Treat this list as research data, not a conclusion. When you compare the piece to reference images, match multiple categories rather than one dominant feature.
Use era-typical combinations as hypothesis tests. For example, a small English side table with cabriole legs, hand-cut dovetails, and hand-forged hinges is consistent with 18th-century provincial work; if the same table has machine-cut dovetails and thin stamped brass hardware, that combination suggests a later revival or reproduction. Each mismatched element reduces confidence in a single-era assignment.
When you find close matches in reference books or museum photos, look for subtle differences: the way a drawer bottom is scribed into the groove, the presence or absence of a drawer lock plate, the routing profile of an edge—these small details often separate original pieces from high-quality reproductions.
- Step 1: Photograph full piece + multiple detail shots with scale.
- Step 2: Log joinery, fasteners, veneer, hardware, saw marks, and repairs.
- Step 3: Compare to reference images and prioritize matches that align across at least three clue categories.
- Step 4: Flag repairs, replacements, and refinishing as possible sources of false signals.
App workflow
After you gather photos and make a short clue list, use the app as a first-pass comparator to surface visually similar pieces and common style labels. Treat the app’s suggestions as starting points for research — they help you find reference images and likely era ranges, not final answers.
When an app match appears, cross-check predicted labels with the strongest clues you noted. If the app suggests an 1860s origin but the drawers show machine-cut dovetails and modern screws, that’s a contradiction worth investigating further. Mark the app result as provisional and record which clues agree or disagree.
For deeper checks, consult detailed references and dedicated photo-based guides. One helpful resource for step-by-step photo checks is the guide 'How to Identify Antique Furniture From a Photo: Wood, Joinery, Hardware, and Style Clues' (https://antiqueidentifierbypicture. app/blog/how-to-identify-antique-furniture-from-a-photo). Use such references alongside app matches to reduce false positives.
Keep a research log: date each photo set, note lighting and any restorations you suspect, and save screenshots of similar pieces. That trail helps if you later consult an app, an online forum, or a professional for verification.
- Use the app to find visual matches, not to finalize identification.
- Compare app labels against your joinery and hardware notes.
- Treat conflicting clues as reason to widen your search or seek expert verification.
- Record findings and image sources for future verification.
Related guides
Next step: run your checklist, then use Antique Identifier
After you’ve photographed the piece and logged joinery, fasteners, veneers, and wear patterns, try Antique Identifier on your phone for a first-pass comparison. Treat app results as research leads: verify any promising matches against the clues you recorded and keep notes for experts if you need further verification.
Take the next step →Frequently asked questions
Can I identify a maker from a single photo?
A single photo rarely proves a maker. Maker identification usually requires multiple clues: stamped marks, unique construction details, provenance, or paperwork. Use photos to narrow possibilities, then seek maker marks, labels, or expert verification if a specific maker matters.
How do I tell if a drawer is original?
Check dovetail form and drawer bottom attachment. Original drawers often have hand-cut dovetails and a drawer bottom fitted into a groove with a tapered floor board. Machine-cut dovetails, plywood bottoms, or staples can indicate later replacement or a more recent build.
Are replaced hardware pieces a deal-breaker for dating?
Not necessarily. Hardware is commonly replaced during repair or to update function. Replacements can confuse dating if evaluated alone, so prioritize construction and joinery. If hardware is modern but joinery is old, the frame likely predates the hardware.
What photos should I take before consulting an app or expert?
Photograph the full piece front and back, underside, drawer interiors and dovetails, close-ups of fasteners and hinges, any labels or stamps, and details of veneer seams or inlay. Include a ruler or coin for scale and use natural light to reduce glare.